Introduction
Last year has been an amazing year for HeadSpin in terms of software updates. In HeadSpin’s latest software updates, the introduction of the HS tunnel has been a breakthrough one, as it helps securely connect HeadSpin devices to local or staging environments for the organization, teams, or individual users. This blog will help you understand HeadSpin’s latest feature, HS tunnel, and how to use it easily without any complications.
What is HS tunnel?
HS tunnel is a proprietary tool that is developed by HeadSpin to connect the cloud devices to your local machine to gain access to any local environments or even to get Charles proxy connected. It is a very diverse tool that can be seamlessly used by running very few commands in your terminal.
Prerequisite
The first thing to do is to install the HS CLI tool that is available on the Platform. It is available for MAC, Linux, and Windows. The steps to download the tool are below.
Get the latest version of the HS tunnel installed by following the steps below:
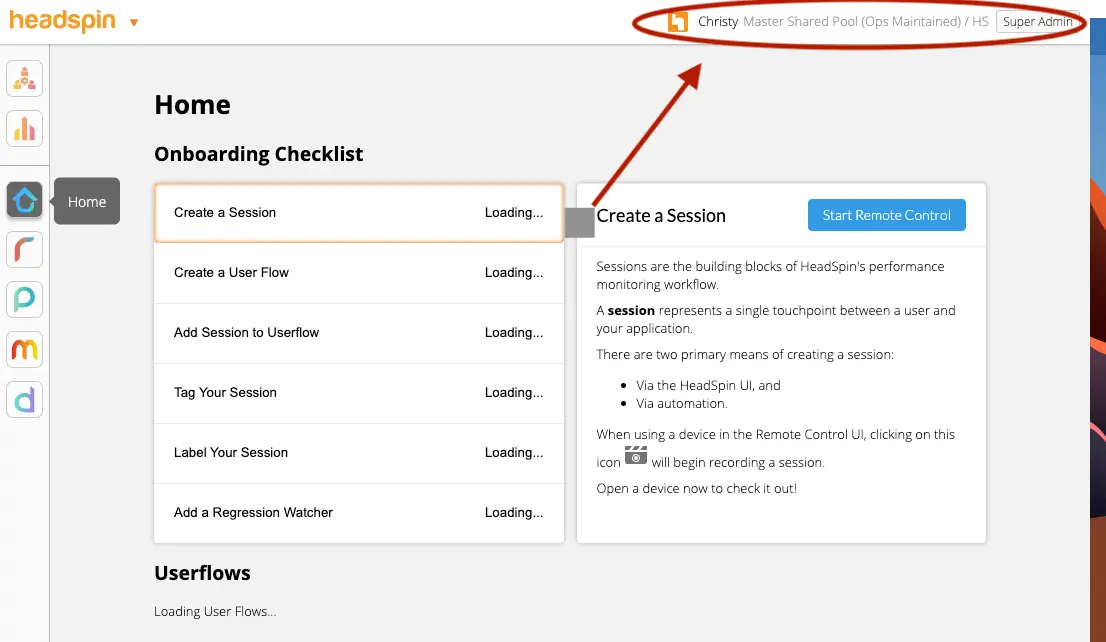
1) Click on your name and Org name, which are on the top right of the UI.

2) Select "Settings."

3) Go to the bottom, and you can see the link to download the CLI tool. Download the tool for your respective machine and install the tool.

4) To check if you have the latest CLI installed, type "hs -V" in your terminal.
Once you have installed the CLI tool, you are all set to run the HS tunnel.
5) Make sure the api server is configured properly. If you receive an authorisation error , try running the command below:
How to run:
To run the HS tunnel, all you have to do is follow the instructions below, and that's it, easy as that.
How to run HS tunnel:
1. Open the device and navigate to Tools tab on an Android device or the Overview tab on an iOS device.

2. Under "Local Environment Tunnel", set the rules and conditions which creates a command that is executable as a command line.

3. Copy the command and run it on your terminal.
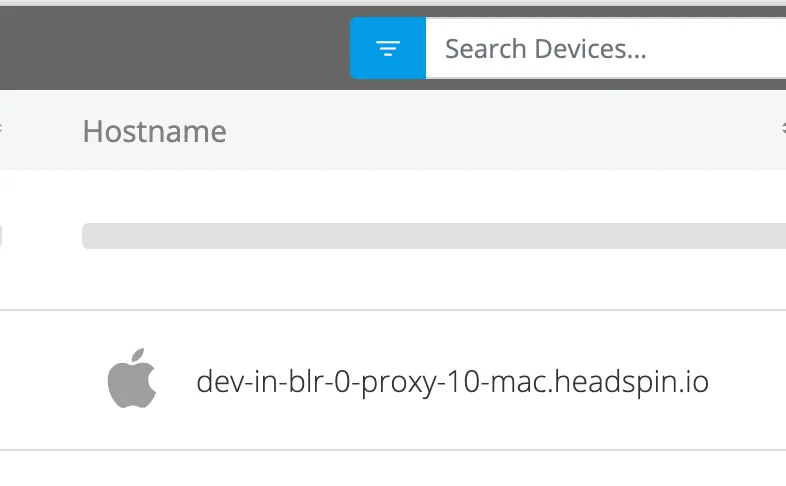
4. Verify that the hosts are connected by matching the hosts shown in the terminal as above with the one in the UI. Each device will have its hostname listed on the device's right side under the column "Hostname".

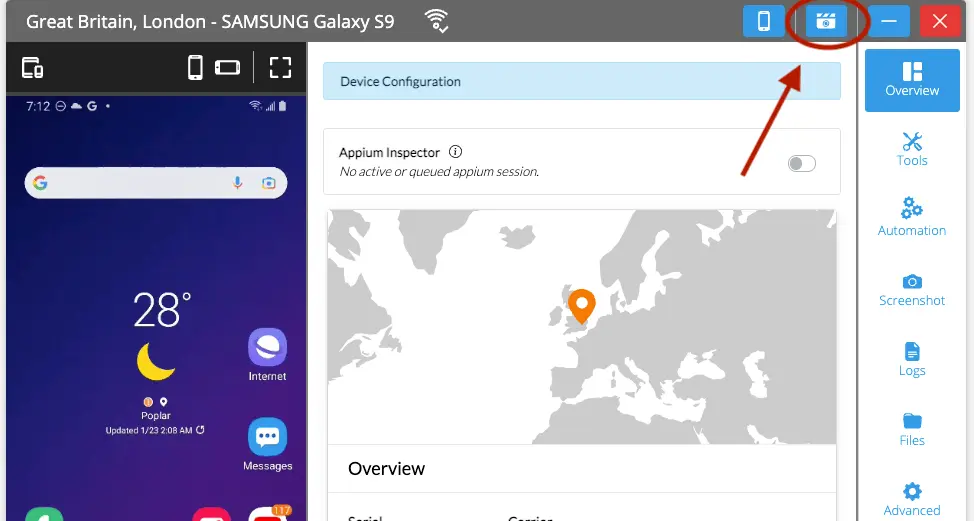
The above command will get all the hosts in your account connected to your local machine. Once that is done. Start the device that you would want to connect to your local environment and click on the capture button.

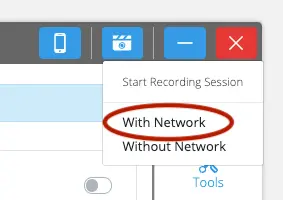
When you click on the capture button, you get two options: “With Network” and “Without Network.” Select “With Network,” and your device will be connected to your local environment.

Now when you check your public IP in the cloud device, it should show the IP of your home/office network.


-1280X720-Final-2.jpg)


