This is a guest post written by longtime Appium Pro reader Wim Selles. Thanks for contributing back to the Appium community, Wim! Be sure to check out both of Wim's AppiumConf talks.
Recently I wanted to explore the possibilities of using deep links with Appium on real devices and I stumbled upon this edition, called Speeding Up Your Tests With Deep Links. In that edition we learned how to use shortcuts to make execution speed less important by using deep links.
In order to demonstrate and use deep links together with Appium the following command was used:
During my research I found out that this works perfectly for Android emulators and iOS simulators, but it didn't work on real devices. On iOS, Siri was opened, which is the native behaviour for iOS (see this issue for more details). In this edition, I want to show you a different method of triggering deep links that will work for emulators, simulators and real devices. Let's start with the easy part, which will be Android.
Note: The code examples are in JavaScript and can be used with WebdriverIO V5. I think the steps and code are self-explanatory, which makes it easy to translate it to your favourite language / framework.
Android and deep linking
Android has a specific mobile command to use deep linking and can be found here. We can use the deep link command in the following way:
For The App we need the following deep link format:
Based on this format it will wake up the app, perform authentication of the requested username/password combination behind the scenes and jump the user to the logged-in area instantly. When the url, the Android package name of The App, and the command are combined, we get this for Android:
This command will work for Android emulators and real devices, even when the app is already opened. Pretty easy, isn't it?
iOS deep linking
Now let's take a look at the hardest part, which is making this work on iOS. There is no mobile command for iOS so we need to take a look at a basic flow on how to use a deep link with iOS. A deep link can be opened through the terminal with the following command:
But this will not be a cross-device solution, especially when you are using a local grid or a cloud solution, and have no access to simctl.
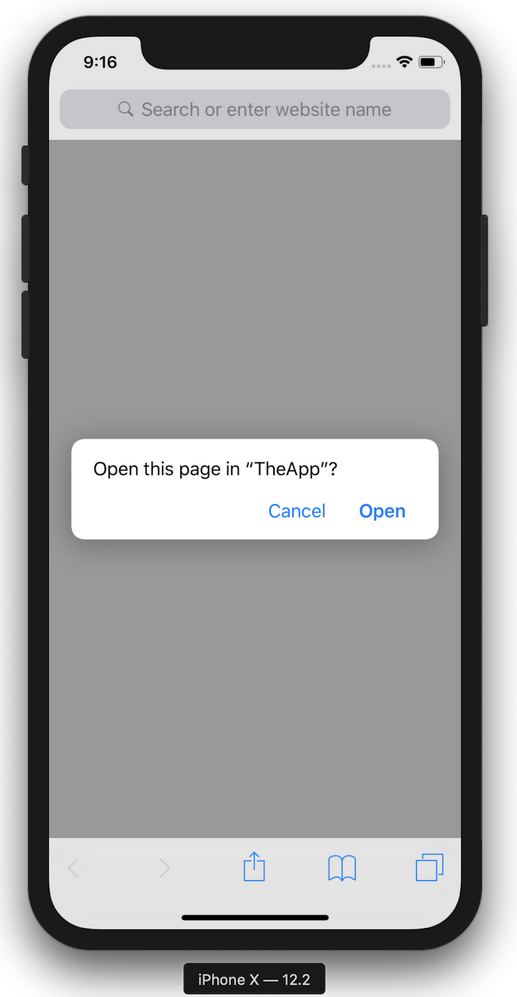
Deep links can also be opened from Safari, meaning that if the deep link is entered in the Safari address bar it will trigger a confirmation pop-up with the question of whether the user does indeed want to open the 3rd-party app (see below).

When the pop-up has been confirmed the app will be opened and the deep link will bring us to the screen we wanted to open. This is like a fairly cross-device solution and manual tests have proven that this works for simulators and real devices.
To be able to automate this flow with Appium we need to follow some simple steps:
- Terminate the app under test (optional)
- Launch Safari and enter the deep link in the address bar
- Confirm the notification pop-up
Each step will be explained in detail below.
Step 1: Terminate the app
This is an optional step and only needed if you experience flakiness when not terminating the app or if terminating the app is part of your flow.
Here, Jonathan explained how to test iOS upgrades and he mentioned that as of Appium 1.8.0 we have the mobile: terminateApp command. The command needs the bundleId of the iOS app as an argument and when that is put together we get this command:
Step 2: Launch Safari and enter the deep link in the address bar
As explained earlier, we now need to open Safari and set the deep link address. It's best to cut this step into 2 parts: opening Safari and then entering the deep link.
Opening an iOS app can be done with mobile: launchApp. The command needs the bundleId of the iOS app, in this case the bundleId of Safari, as an argument and when that is put together, we get this command.
(An overview of all bundleIds of the Apple apps can be found here)
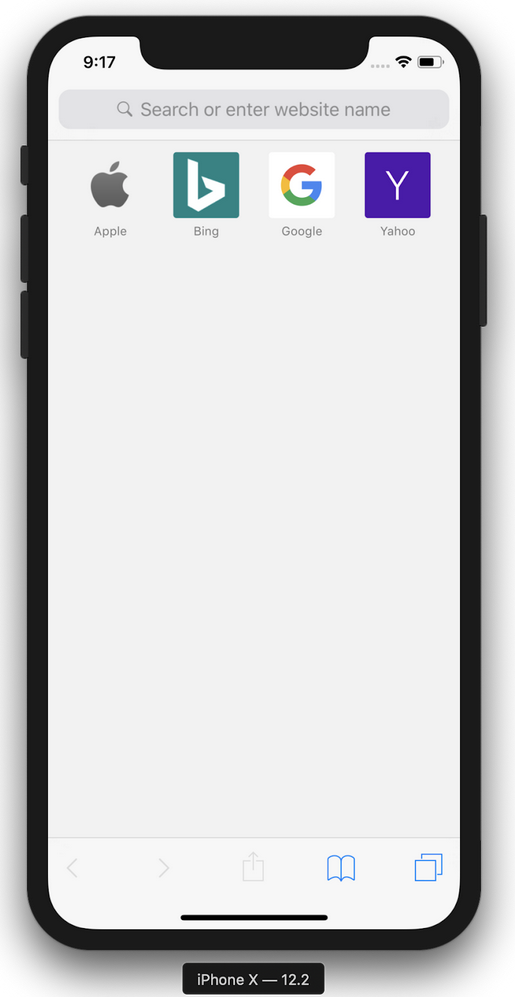
When the launchApp command has successfully been executed Safari will be opened like this

Now comes the tricky part. This part cost me some headaches because it was the most flaky part of the deep link process, but I finally got it stable, so let's check it out. First of all, we need to think about the steps a normal user would take to enter a url in Safari, which would be:
- Click on the address bar
- Enter the url
- Submit the url
Secondly, keep in mind that we started Appium with The App in the capabilities meaning we are in the native context. For the next steps we need to stay in the native context, so we can use Appium Desktop to explain the steps we need to take.
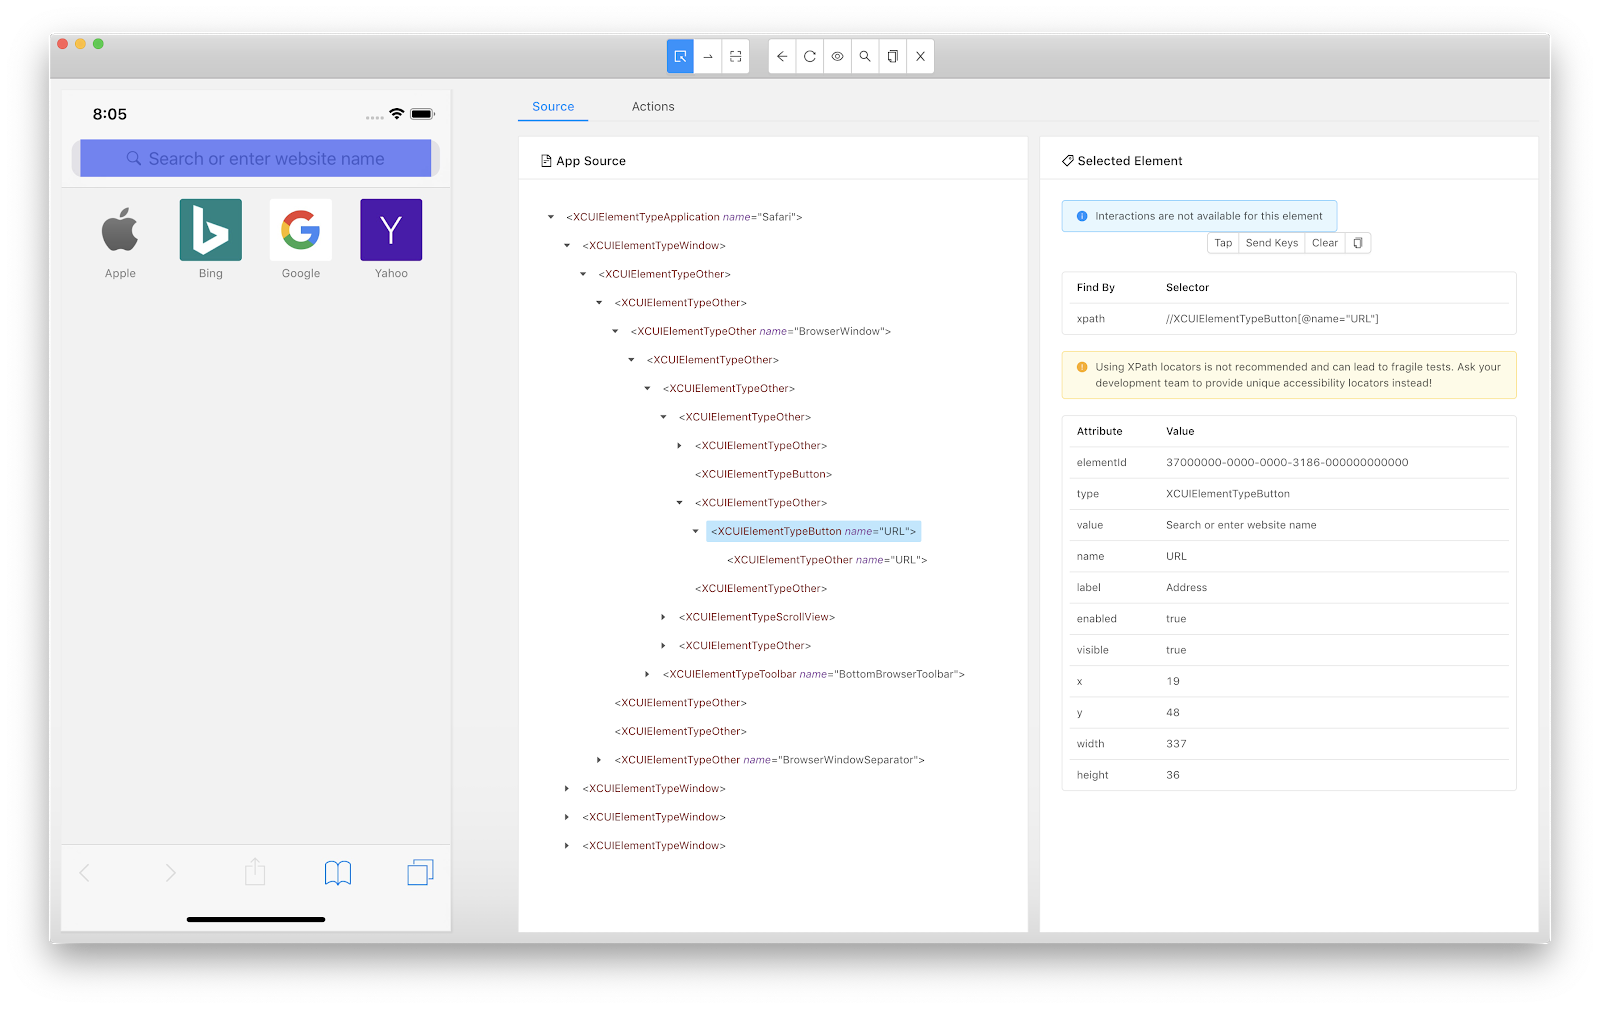
When we start Appium Desktop and open Safari we need to know the selector of the address bar. Since we know that XPATH might be the slowest locator (see this blog) we want to use a faster locator. Because the address bar has a name attribute with the value URL you might think we can use the Accessibility ID locator (which we can), but that one will give us back 2 elements: both the XCUIElementTypeButton and the XCUIElementTypeOther (which will take longer to work with).

In this case I would advise that we use the iOS predicate string locator to specifically select the url-button element. I would also advise that we use a wait strategy to be sure that the element is visible and ready for interaction. The code would look something like this:
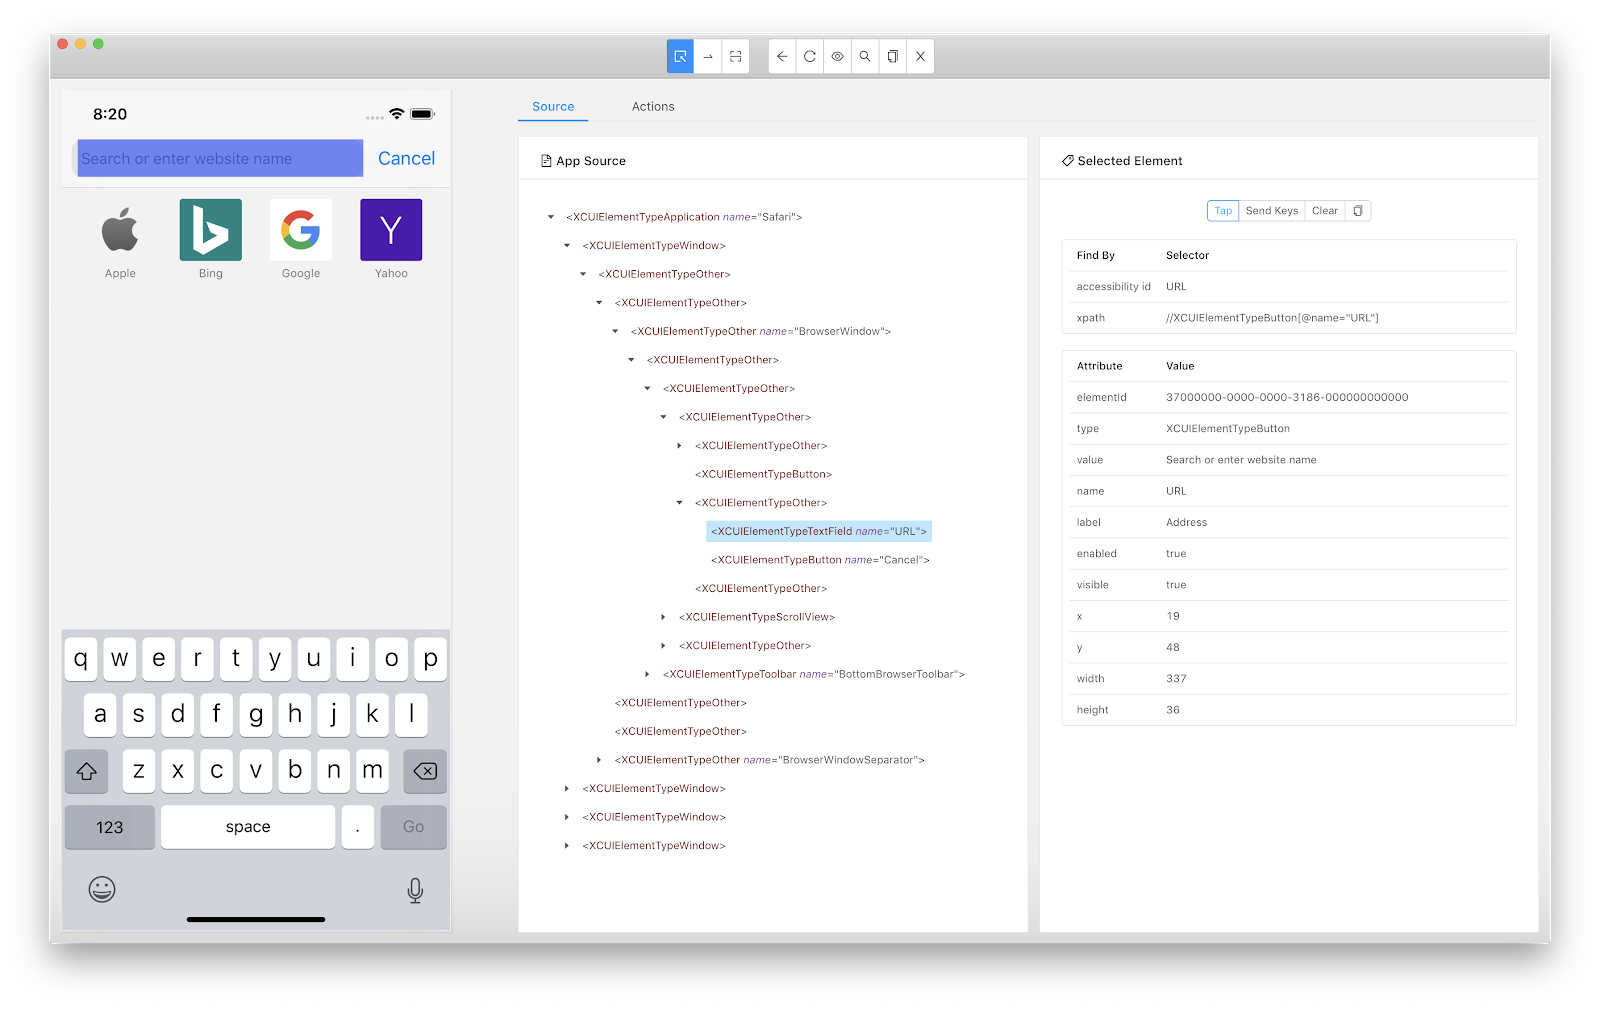
If we would now refresh the screen in Appium Desktop we would see that the XCUIElementTypeButton element is not there anymore, but changed to a XCUIElementTypeTextField element with the same URL name attribute. If we would have used the Accessibility ID locator, then this would have been the second point that could cause flakiness. The reason for this is that the switching of elements might not be picked up at the same speed for Appium, making it refer to the already-disappeared XCUIElementTypeButton element, and thus causing the script to fail to interact.

To set the value we're going to use the iOS predicate string locator again. After setting the url we also need to submit the url. This can be done by clicking on the Go button on the keyboard, but this can also become flaky if the keyboard doesn't appear. Appium allows you to also use Unicode characters like Enter (defined as Unicode code point \uE007) when using setValue. This means we can set and submit the url with one command:
When the url has been submitted a notification pop-up appears. This brings us to our last step.
Note: Keep in mind that this script has been made on a English iOS simulator; if you have a different language the selector text (URL) might be different
Step 3: Confirm the notification pop-up
After submitting the url we only need to wait for the notification pop-up to appear and click on the Open button. To keep the locator strategy aligned we are also going to use the iOS predicate string locator here.

With the wait command the code would look like this:
Note: Keep in mind that this script has been made on a English iOS simulator, if you have a different language the selector text (Open) might be different
Making it cross platform
We've created a deep link script for Android (a one-liner) and for iOS (more complex), so now let's make it a cross platform helper method that can be used for both platforms. If we stitch all code together we can create the following helper:
Note: Keep in mind that this script has been made on a English iOS simulator, if you have a different language the selector text (URL/Open) might be different
The helper (which you can also see on GitHub) can then be used like this in some test code:
So now you never need to worry on how to use deep linking for Android and iOS on emulators, simulators and real devices; they all work!


.png)


-1280X720-Final-2.jpg)


